
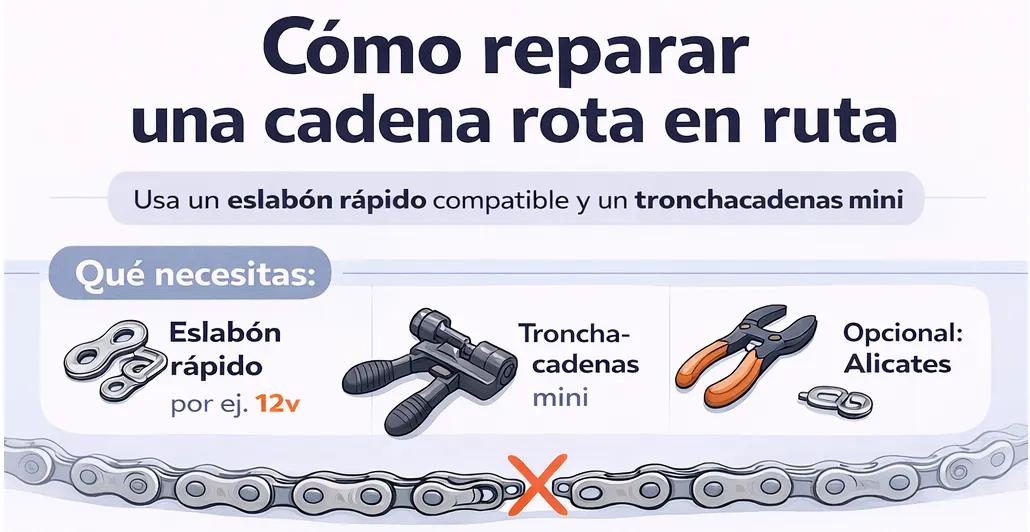
A basic item you should always carry in your tool bag: a quick link chain.

BICICITA admin
It doesn't happen every day, but if your chain breaks on the trail and you don't have a spare, you're stranded. And with many modern e-bikes, between the motor's power and a faulty gear, it's not uncommon. Note: not just any spare will do. It must be the right one for your drivetrain. Many modern bikes have 12 speeds, so it's a good idea to check beforehand. And not only that: it's also worth carrying a mini chain tool, because without it you won't always be able to properly replace the broken link and get yourself out of trouble. It's lightweight, compact, and can save your ride.
How to repair a broken chain step by step
1. Position the bike and locate the break
Find the exact point where the chain has broken or where a link has become deformed.
If the chain has opened but there are bent pieces, do not try to reuse them.
2. Remove the damaged part
Using the mini chain tool, eject the pin from the broken or deformed section to remove that part of the chain.
The idea is to leave two ends clean and ready to be joined.
3. Leave the correct ends for the quick closure
To assemble the quick link, you typically need both ends of the chain to terminate in the appropriate holes to fit each half of the clasp. (female)
If they don't fit properly, you'll have to use the chain tool again to adjust one more link.
4. Place the two halves of the quick link
Place one half of the clasp on each end of the chain and join them together.
Do it carefully so they settle properly.
5. Tighten the chain to lock the clasp
Once in place, rotate the transmission until the fastener is at the top or middle of the chain and pull firmly or press on the pedal to fully engage the quick link.
Sometimes simply pressing the pedal with the rear brake locked is enough to close it.
6. Check that everything works
Before we continue:
- move the chain by hand
- Check that the closure works properly.
- shift gears smoothly
- Avoid pushing too hard at the beginning.
Important warning:
- If you remove a section of the chain, it will be a little shorter. This might be enough to get you home, but it's not always a permanent fix.
- Don't put on a hard gear immediately after repairs, especially on an e-bike.
- If the chain was already very worn or damaged, then it is advisable to replace it completely.
- If you are unsure about the compatibility of the link, do not force it.
More tips like this can be found in the Bicicita maintenance and mechanics group.
Galería de fotos
1 / 3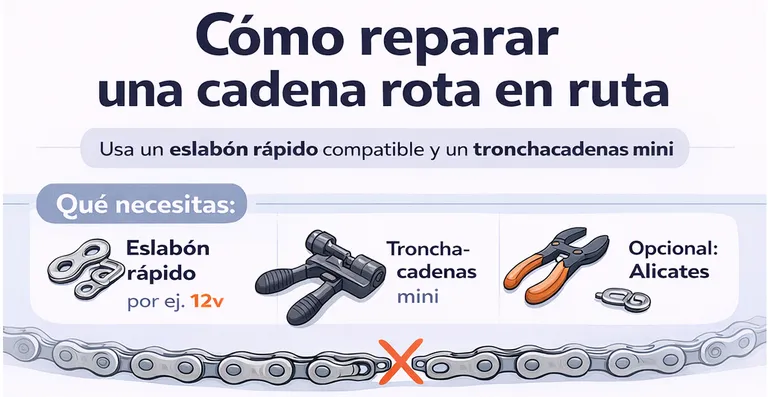
BICICITA admin
Admin de Bicicita, ¿en que te puedo ayudar?