
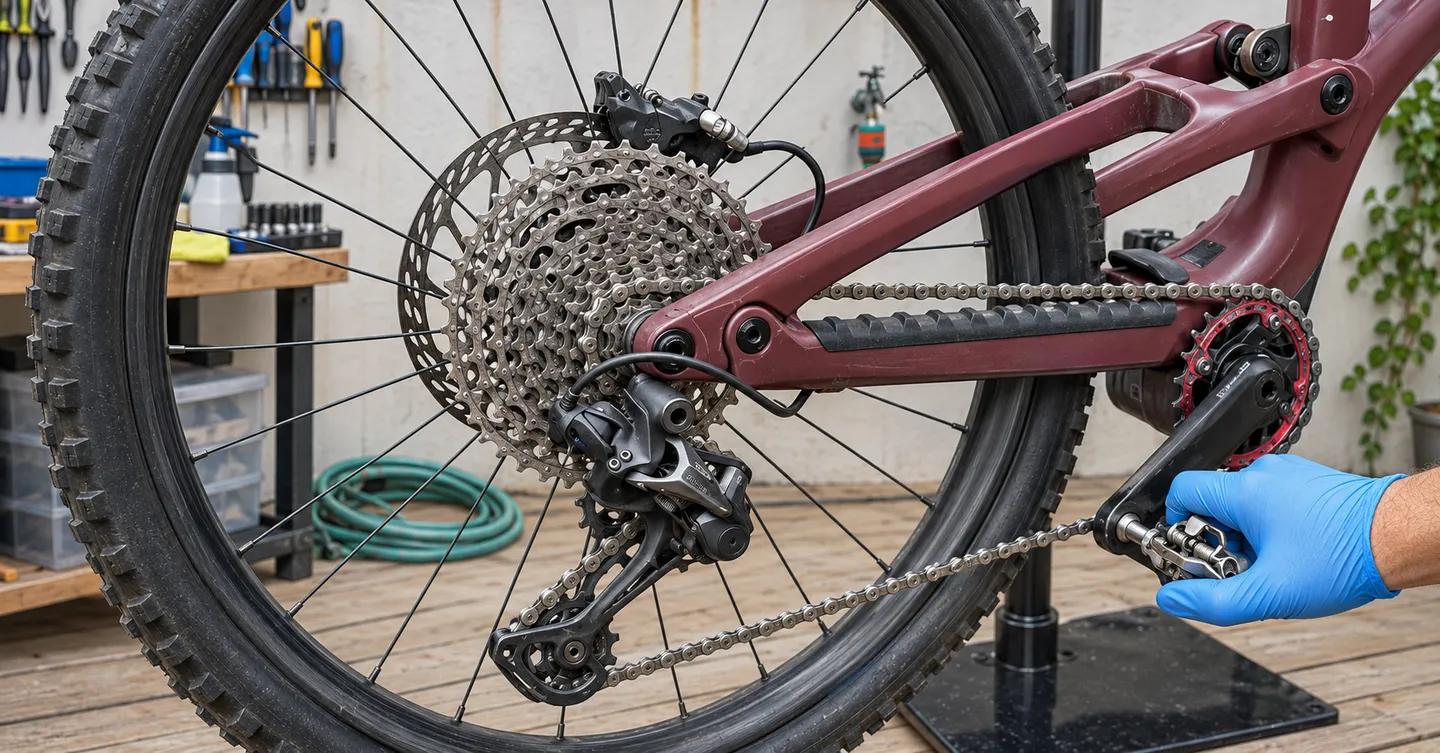
Wheel out, wheel in: the step-by-step guide every cyclist should know

BICICITA admin
Removing the rear wheel might seem like a workshop job, but it's one of the first things you should know how to do. You need it to fix a flat tire on the road, to put your bike in the car, or to take it on a trip. The front wheel is straightforward. The rear wheel is a bit intimidating because of the chain and gears, but with a few tricks, you'll get it off the first time.
Before we begin: don't turn the bike upside down
That's what almost everyone does, and it's not a good idea. If you rest it on the handlebars and the saddle, all the weight falls on the brake levers, shifters, and GPS or phone mount, which can get scratched, bent, or broken. And with hydraulic disc brakes, air can get into the system, making the lever feel spongy.
It's best to use a stand, either hanging or upright. When riding, lay it on its left side (never on the drive side) or, even easier, ask a friend to hold it for you: there's always someone on a ride. If you have no choice but to turn it upside down, do so on something soft. If your brakes are hydraulic, squeeze the lever several times before riding again and check that it brakes firmly.
How to get it out
- Shift to the smallest cog . Do this while pedaling, before stopping. This will put the gear in its rearmost position and allow the wheel to shift in and out much more smoothly.
- Open the brake if it's a rim brake. On the road, lift the caliper lever. On a V-brake, loosen the cable clamp. If you don't open it, the tire won't pass between the brake pads.
- Loosen the axle. If it's a quick-release axle, open the lever. If it's a through axle, unscrew it and remove it completely.
- Shift the derailleur back. With one hand, pull the derailleur body back to create space, and with the other, push the wheel down and forward. The cassette will disengage from the chain, and the wheel will come off. If your derailleur has a clutch (on Shimano, the ON/OFF lever), switch it to OFF, and everything will shift much more smoothly.
If you have disc brakes: don't squeeze the lever with the wheel off, because the pistons will close and the disc won't retract. Also, don't touch the disc surface with your fingers: the oils from your skin will contaminate the brake pads.
How to assemble it (the trickiest part)
This is where we all struggle with the chain. The key is to get the cassette to slide under the top of the chain.
- With the gear shifted back, place the wheel under the bike and rest the small sprocket on the top section of the chain.
- Raise the bike on the wheel until the axle engages the dropouts (the slots in the frame where the axle fits), and let the derailleur return to its position on its own. If you have a disc brake, guide it between the pads without forcing it.
- Seat the axle all the way down on both ends. This is the crucial step: if one side is even a millimeter higher than the other, the wheel will be crooked and rub against the disc on the caliper or the rim against the brake pads. Tip: Put the bike on the ground and put some weight on the saddle before tightening; this will allow the axle to seat itself completely.
- Close the axle. With a quick-release skewer, the lever should start to tighten halfway through its travel and leave a mark on your palm. Don't screw it in like a nut, and leave it pointing backward or upward to prevent it from catching. With a thru-axle, the wheel will almost align itself, but check that it's fully inserted before tightening, and then tighten firmly (many axles have the torque spec marked on them; if you're unsure, see our torque specification guide).
- Re-engage the brake shoes if you opened them: it's the most dangerous oversight. And if you put the clutch in OFF, put it back in ON.
Check before rolling
-Turn the wheel: it shouldn't rub against the disc or the brake shoes. If it does, loosen it, reseat the axle, and tighten it again. If it still rubs with the wheel properly seated, the problem is with the caliper, not the wheel.
-Press the brake: it has to be firm.
-Go through several gears to check that the gear changes properly.
And the forwards?
Much simpler, because there's no chain or gears: you open the brake if it's a rim brake, loosen the axle, and remove it. Forks with quick-release have safety tabs on the dropouts, so in addition to opening the lever, you'll have to unscrew the nut a few turns. When installing it, it's the same as on the rear: axle fully engaged in both dropouts, secure the lock, brake engaged, and the wheel will spin smoothly.
-If you take it out to put the bike in the car, put a separator between the pads (a folded piece of cardboard will do) so that they don't close if someone touches the lever.
-Support the bike on its left side, never on the derailleur. It's the most exposed part, and a bump can bend the derailleur hanger and cause the derailleur to malfunction.
-Keep the axle or the lock in a fixed place: it's what always gets lost.
In summary
Smallest cog, reverse shift, cassette below the chain, and axle fully seated on both dropouts. Practice this at home for a day, taking your time, and the next time you get a flat tire at a ride, you'll have it fixed in two minutes. And if there's someone in your group who still doesn't know how to do it, pass this post along.
BICICITA admin
Admin de Bicicita, ¿en que te puedo ayudar?