
How to fix a flat tire on a bike (step by step)

BICICITA admin
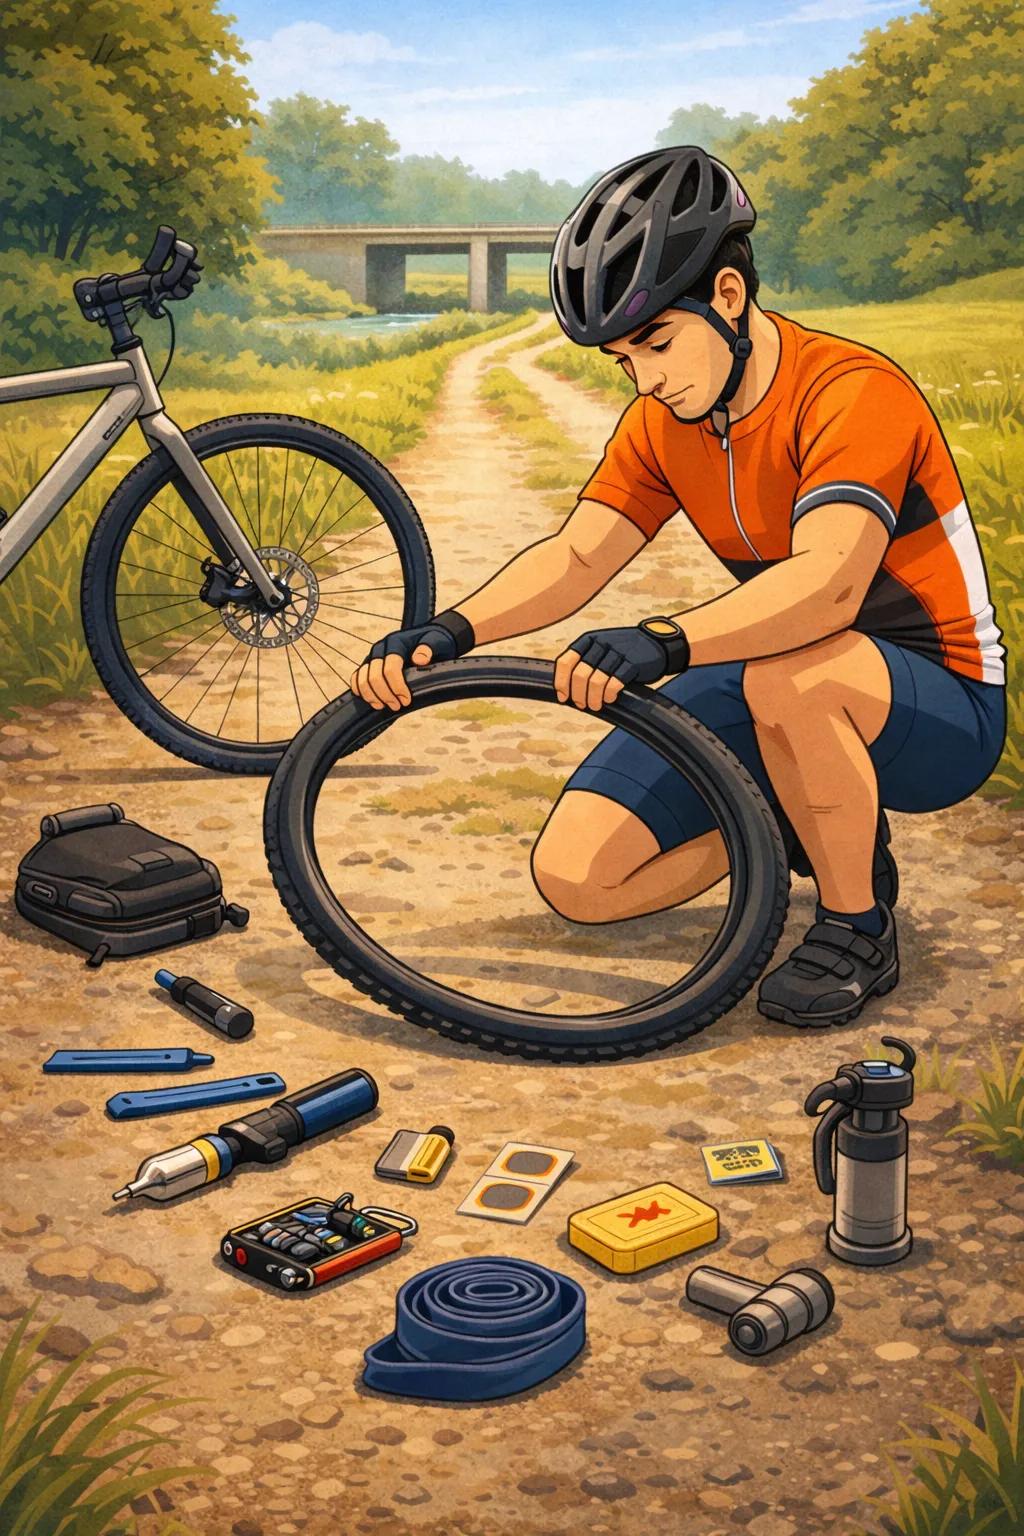
Getting a flat tire is part of cycling. What's not acceptable is being stranded or wasting half the morning. With this kit, you can fix it in 10–20 minutes (and getting faster all the time). What you need (minimum kit)
-Spare inner tube (or plugs if you use tubeless tires)
-Detachable (2–3) -CO₂ pump or cartridge
-Multi-tool (optional but recommended)
(Optional) Patches + glue. Honest advice: always carry an inner tube even if you're using tubeless tires. A large cut might force you to use an inner tube.
Step 1: Identify if it is front or rear
Front wheel: easier.
Rear wheel: you may need to release the brake/wheel and (in some cases) manage the chain.
Turn the bike upside down or carefully prop it up. NOTE: Be careful if it's an e-bike; you could damage some displays located on the handlebars.
Step 2: Remove the wheel. Open the quick-release or loosen the thru-axle.
If it doesn't come off, check the brake: On rim brakes (V-brakes): open the brake caliper. On disc brakes: it usually comes off without touching the brake (but don't squeeze the lever with the wheel off).
Step 3: Remove part of the tire. Deflate completely if there is any air left. Insert a tire lever under the bead of the tire and pull it out. Repeat with the second tire lever and work your way out until one sidewall is free. Don't overdo it: removing one sidewall is enough.
Step 4: Remove the inner tube and find the culprit. Remove the valve and then the entire inner tube. Check why you got a puncture: Carefully run your hand inside the tire. Look for glass, thorns, wire, etc. Also check the rim: the rim tape might be damaged and causing a puncture from the inside. Typical mistake: changing the inner tube without removing the glass → you'll get another puncture in 2 minutes.
Step 5: Fit the new (or repair) inner tube. Quick option (recommended): New inner tube. Slightly inflate the inner tube (just to give it shape). Insert the valve into its hole and place the inner tube inside. Snap the tire bead back on (by hand, if possible). Patch option (if you don't have a spare): Sand the area, apply glue, wait a few seconds, and stick on the patch. Let it set for 1–2 minutes before riding.
Step 6: Mount the tire without pinching the inner tube. Start on the side opposite the valve and finish near the valve. Anti-pinch trick: Before closing it completely, push the valve in slightly and then pull it out again: this ensures the inner tube is properly seated. Visually check that no inner tube is visible between the tire and the rim.
Step 7: Inflate to the correct pressure. You don't always need to inflate to the maximum. It depends on your weight, tire type, and terrain.
Quick guide (very general):
-Road: 5–7 bar (70–100 psi)
-Gravel: 2–4 bar (30–60 psi)
-MTB: 1.3–2.2 bar (20–32 psi)
Helpful tip: It's better to use slightly less pressure on roads to gain grip and reduce punctures from impact.
Step 8: Reinstall the wheel and check the brakes. Make sure it's properly centered and tightened. Spin the wheel: it shouldn't rub. Brake gently before resuming normal speed. Tips for fewer punctures (and less suffering): Check your tires: if they're cracked or cut, replace them. In the city, be careful of road edges and glass. Lower the pressure slightly on rough terrain. If you get a lot of punctures: consider more durable tires or going tubeless on your MTB/Gravel bike.
Has this happened to you? Share it! On Bicicita you can ask your group what to bring depending on your area and discipline, or ask for help if you get stranded nearby.
Explore, Connect, Pedal.
Galería de fotos
1 / 1
BICICITA admin
Admin de Bicicita, ¿en que te puedo ayudar?